Since our First Look in March, I’ve carried the Direct Action Dragon Egg as one of my primary Everyday Carry packs.
![Direct Action Dragon Egg Backpack]()
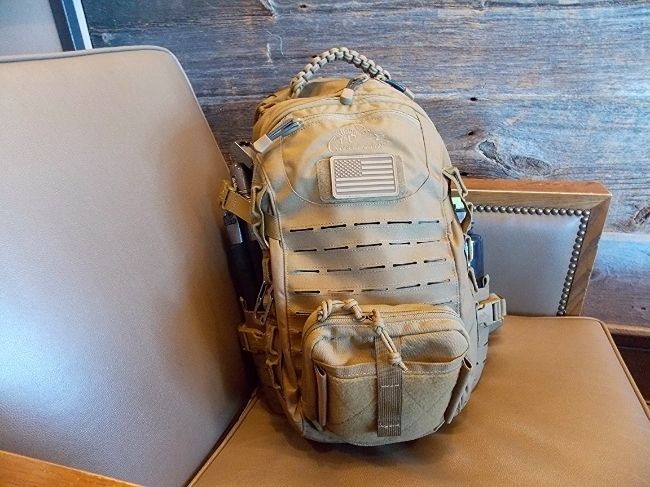
Direct Action Dragon Egg Backpack
For those new to the brand, Direct Action (DA) is a spin-off of Helikon-Tex, a tactical gear company based out of Poland. With the introduction of their 2015 pack line, DA is making an aggressive push into the U.S. market. Summer is upon us here in the Midwest and some warm weather allowed me to do some writing on the back patio and reflect upon my experience with the new bag.
The Dragon Egg is made from 500D Cordura brand nylon. It measures 19 X 10.5 X 7″ with an overall capacity of 1526 cubic inches. Right within the range that most people feel is ideal for EDC.
![]()
First impressions are usually lasting impressions when I unbox a pack and it’s often the little things that make the difference. The designer(s) at Direct Action responsible for the Dragon Egg undoubtably understand this because this bag checks all the boxes on features that make carrying a pack a pleasure and not a grind. For instance, I loved that DA included a paracord carry handle. In addition to being aesthetically cool, the handle is easy to grab and can be unwrapped in a pinch to re-purpose the paracord. They didn’t use 550 paracord for the zipper pulls but I’ll give them a pass since they included glove-friendly heat shrink tubing on every pull. I’ve done that as a mod to my other packs for a while now. It’s nice that I could skip that step on the Dragon Egg since it’s already there – out of the box. There are some other “creature comforts” but I’ll point those out later in the review.
The Dragon Egg has an admin area in the zippered compartment behind the front panel.
![]()
To be honest, it wasn’t the best. There were three pen slots, a small zippered mesh pocket that can hold a wallet or (in my case) a few snacks. There is a keeper that can tether a train pass or keys. There was room to stick a pair of gloves or a small notebook in the sleeve behind the panel that can be closed with Velcro. And, in the small pockets, I stored my lock pick set and my iPhone 6 in a Catalyst Waterproof case. The phone was held in place by the bungee strap, which gave me some extra piece of mind that it wasn’t being tossed around.
![]()
The downside is there were no larger slots for knives, flashlights, multi tools, etc. which is definitely a miss for a pack being marketed to EDC enthusiasts. Fortunately, I went out looking for a solution and stumbled upon the MSM Tac Organizer Pouch by Milspec Monkey. We’ve reviewed pouches made by the Monkey before and it’s a brand I trust with my own packs. This particular pouch is very space efficient. It lined up perfectly on the Dragon Egg’s five columns of laser cut MOLLE and the Marine Coyote was an exact color match. More importantly, it added the tool storage that the Dragon Egg lacked.
![]()
Regarding the new MOLLE… this was my first experience with it and I came away really impressed. First off, I had no problem threading malice clips through it. As you may recall, earlier this year, I talked about the benefits of 500D Cordura and Laser Cut MOLLE. At 3 pounds 8 ounces, the Dragon Egg isn’t the lightest EDC bag out there, but it could have been prohibitive heavy if DA had used 1000D and traditional MOLLE webbing. The only downside is I really don’t know how you’d clean out dirt and debris if it got caked behind the face fabric. If you tend to drag your packs through the muck then its something to consider. For urban use, that would rarely be an issue.
At the top of the front panel, above where I mounted the MSM Tac Organizer, is a decently sized sunglasses pocket.
![]()
The main compartment features a large 3/4 mesh pocket and a hydration sleeve. There’s also room for an extra layer like this Arc’teryx Atom LT Hoody.
![]()
The hydration sleeve isn’t padded but it also doesn’t sit flush with the bottom of the pack so using it to carry my iPad Air in a ZAGG keyboard case was not an issue.
![]()
Behind that (against the back panel) is a very nice fully padded compartment that also has a hanger for a second reservoir if needed. It’s large enough to fit up to a 15″ laptop.
![]()
The foam used in the Dragon Egg’s back panel is firmer than most and features multiple contoured air channels. I haven’t carried the pack yet in warm weather but I’m convinced ventilation would not be an issue.
![]()
This “Combat Vent System” along with the beefy shoulder straps effectively negated the pack’s 3+ pounds empty carry weight and handled heavy load-outs with ease.
![]()
A friend of mine, who swears by the Camelbak Urban Assault XL, asked to try the Dragon Egg with my full work load-out and came away thoroughly impressed saying it compared very favorably to his pack. That’s high praise considering he went with the CUA based on my recommendation and has carried it every day for work since the beginning of the year.
A removable sternum strap and waist belt is included. Notice the elastic keepers for strap management. Further evidence of DA’s attention to detail.
![]()
One of the most useful features of the Dragon Egg are its collapsible side pockets. Fully zipped, they can carry small and/or flat items. Even long items, like a tri-pod, can be secured using the pocket and the pack’s upper and lower compression straps.
![]()
Before you ask how secure it is, here’s a picture of my youngest son holding and shaking the pack upside down. As you can see, the tri-pod stayed put.
![]()
The side pockets can also be unzipped and expanded to hold larger items like a 32 ounce Nalgene bottle. It will also take taller bottles like a 32 or 40 ounce Hydro Flask.
![]()
The base of the pack has more retention straps with quick release buckles and a grommet for drainage.
![]()
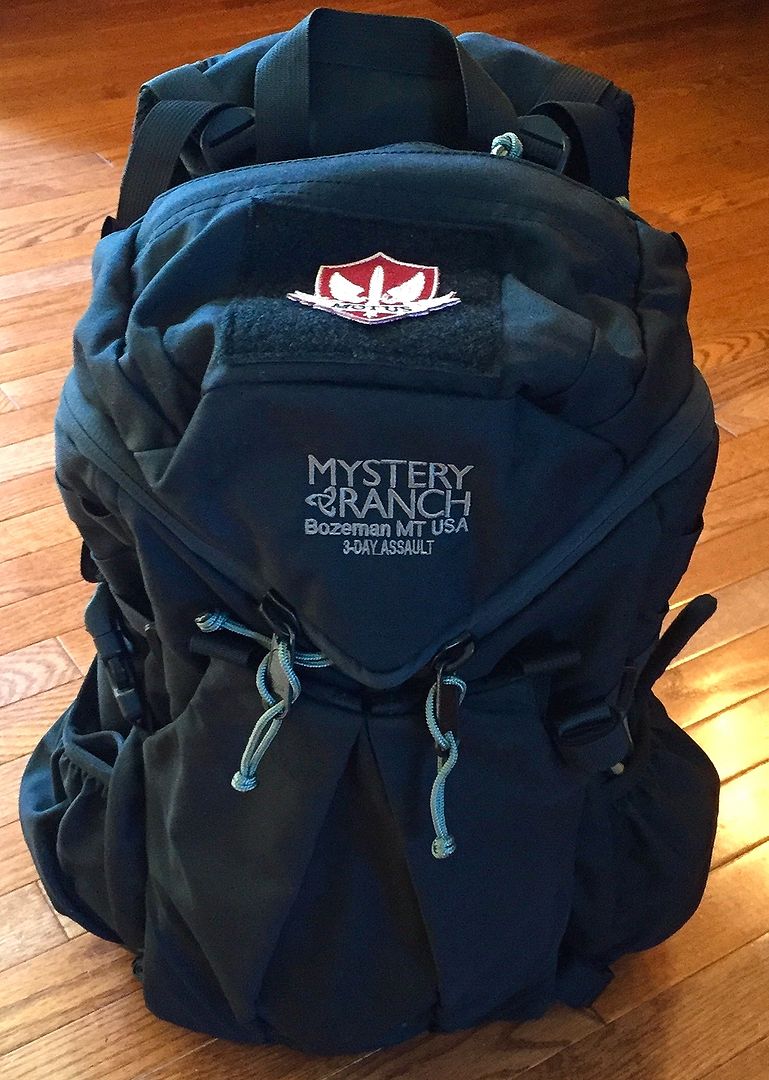
As you probably noticed in the pictures, there were some loose threads here and there. I’d say the quality level fell somewhere in the middle. Not in the realm of premium pack makers like Mystery Ranch, Triple Aught Design, or Tom Bihn, but a step up from Maxpedition or 5.11 Tactical, and the street pricing is in line with that.
CONCLUSION
The Dragon Egg isn’t perfect but overall it’s a pretty compelling option in the EDC category if you’re looking for a feature-rich pack on a budget. And based on this initial effort, Direct Action as a gear maker is definitely one to watch.
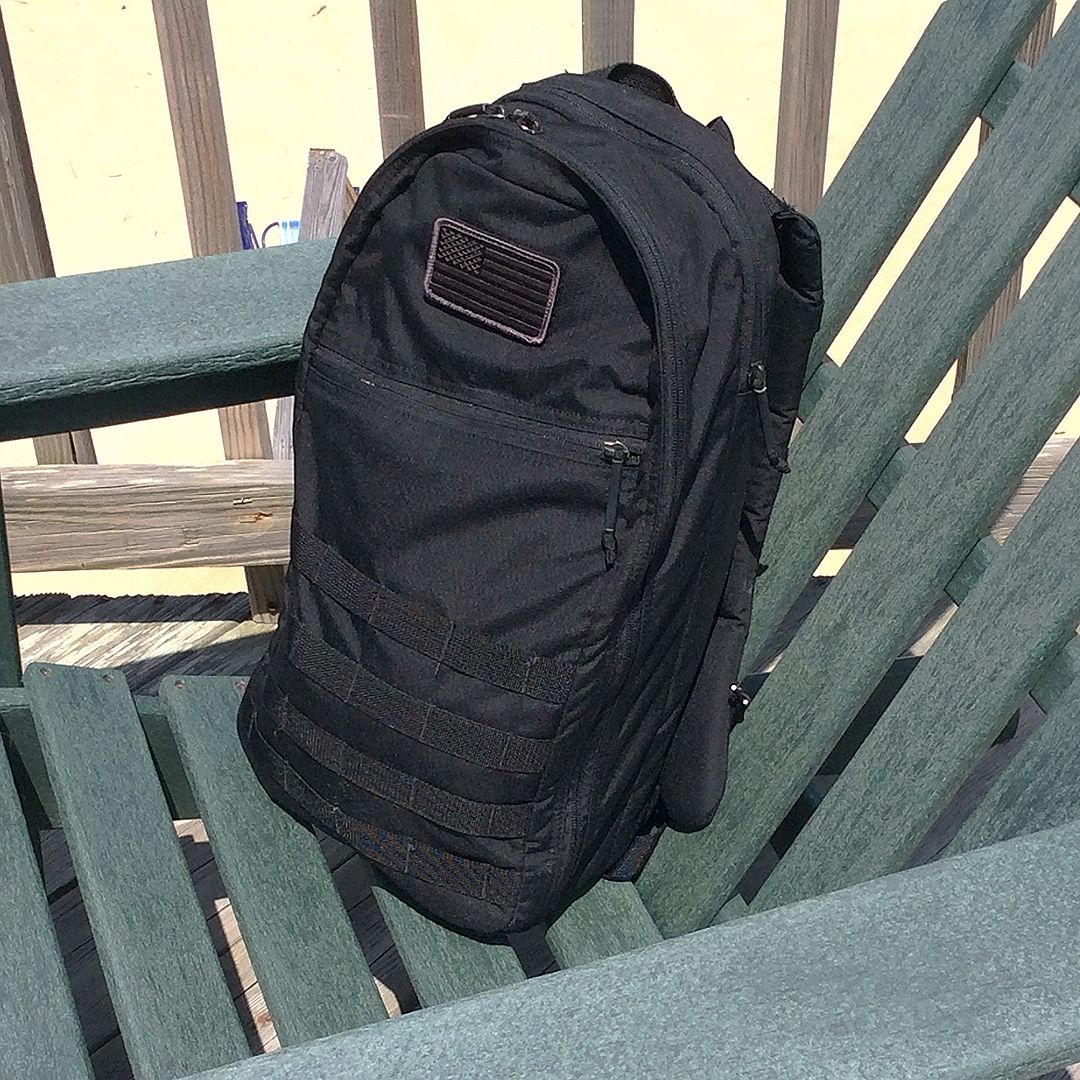
The Dragon Egg is available from Direct Action’s web store and retails between $139 to $159 depending on the color. And It’s available in almost every color imaginable including Black, Coyote Brown, Olive Drab, Ranger Green, Shadow Grey, Woodland and a variety of Pencott and Kryptek camo patterns.
The post Direct Action Dragon Egg Review appeared first on Loaded Pocketz.